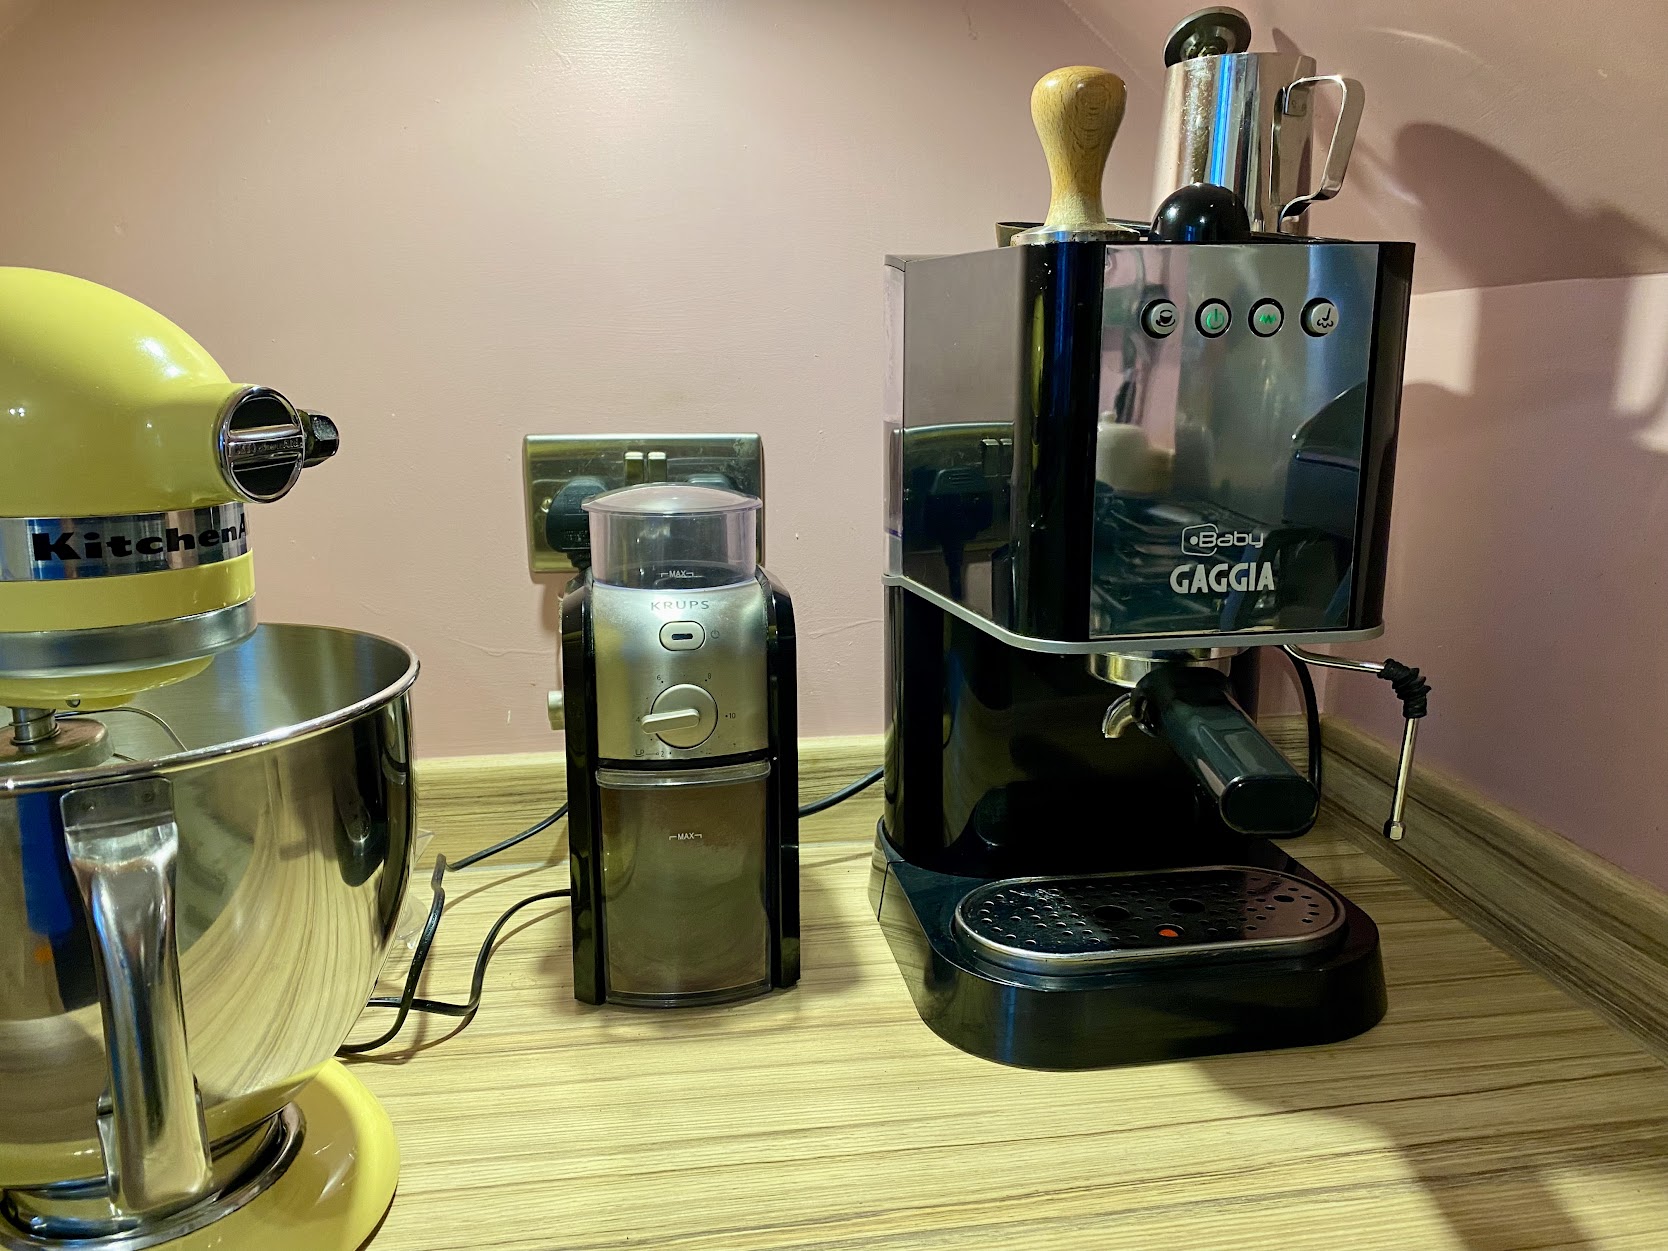
My Baby Gaggia
I’ve had my Baby Gaggia espresso coffee machine for quite a while now, I can’t remember exactly but it must be approaching 10 years or so. It has beeen a great little machine. The purists would say it’s not the best because you can’t adjust the temperature or the pressure. The only thing you have any real control over is the grind. However, if you can get that right, it makes great coffee, good enough for me and a whole heap better than the variable excuse Starbucks and Costa charge you far too much for. I mean £4 for a variably mediochre coffee? It beats me why people queue up for that stuff but that’s another story.
The Problem
Up until now all I have had to do is clean the group head occasionally and I have replaced the basket seal a couple of times. Other than that it has run perfectly, no issues at all. So it was a bit of a concern when it started coughing and spluttering when I tried to dispense a shot of coffee. It was worse if the machine had been left on for any length of time. It seemed like steam rather than water was coming through and would actually spray steam/water/coffee out sideways instead of a gentle dribble into the cup. Now, is this the excuse I’ve been waiting for to buy a fancy new machine? Well, I thought I should be a bit more sustainable and at least make some effort to try and fix it first.
The Solution
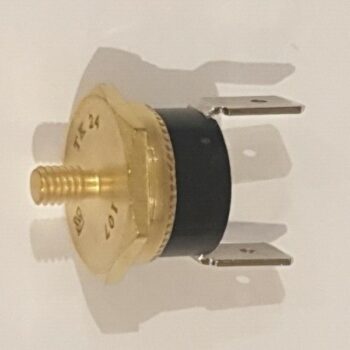
After a bit of research, I discovered these machines have two thermostats, one for the main boiler and one for the steam wand. They also fail from time to time but importantly they are not expensive and are apparently easy to replace. Basically, the thermostat may not be cutting off the boiler heater early enough, or at all! So I thought I’d try that first. I found one on eBay, ‘Gaggia Classic/Baby Contact Thermostat 107oC 10A 250V Brew Temp’, or something like that. The important thing is for the boiler you need the 107oC one. It looks like the pic on the right and will have 107 stamped on it, it should be less than a tenner. You will also need some thermal grease/paste. This is the same stuff used to seat CPUs on motherboards and you can buy mini sachets for just a pound or two. There may be enough residual on the one you take out but you don’t want to find you need it once you’ve started the job.
The Fix
You will need to take the top cover off so before you do remove the water container. There are 5 screws to undo, all cross head screws. The first is under the steam knob. Just pull the knob up, it should just lift off. If not, a bit of gentle persuasion with a blunt screwdriver should do the trick.
The next two are accessed from the back, where the water container sits. One of mine was a bit tricky as water had got in and it was rusty. Just make sure you have a good purchase before unscrewing so you don’t strip out the screw head. The final two are underneath the front of the machine, where the filter holder attaches.


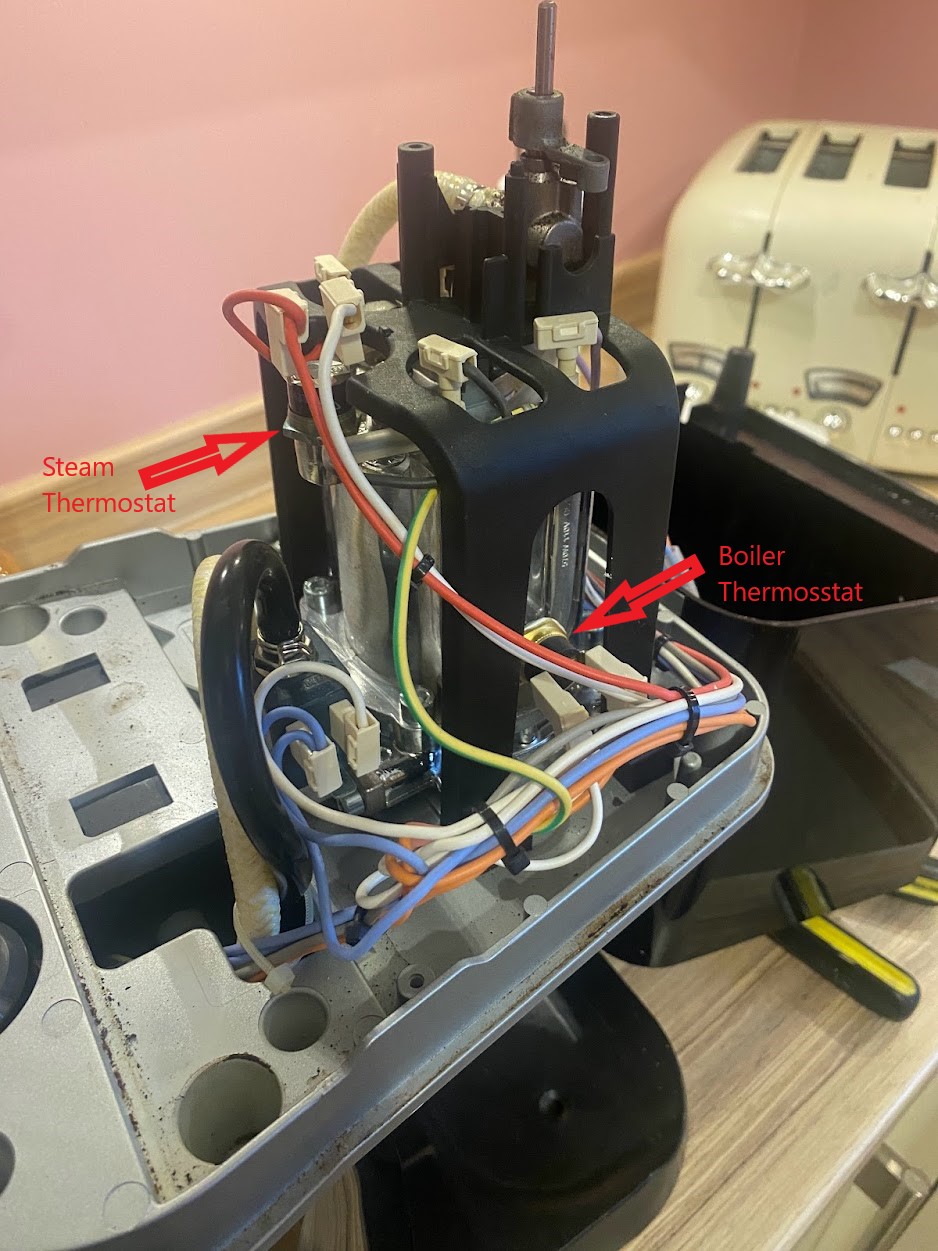
Once these are out, the black cover should just lift off giving you easy access to all the works! Just take care as there are still wires attached to the front control panel, although these were long enough not to have to disconnect them for me. There are two thermostats inside. You could for the sake of completeness change them both while you are here, they are quite cheap after all. I just changed the boiler thermostat as don’t use the steam wand very much. The steam thermostat is rated 145oC if you do want to get one.
The boiler thermostat is the one on the left hand side as you look at the machine from the front. The steam thermostat is at the back.
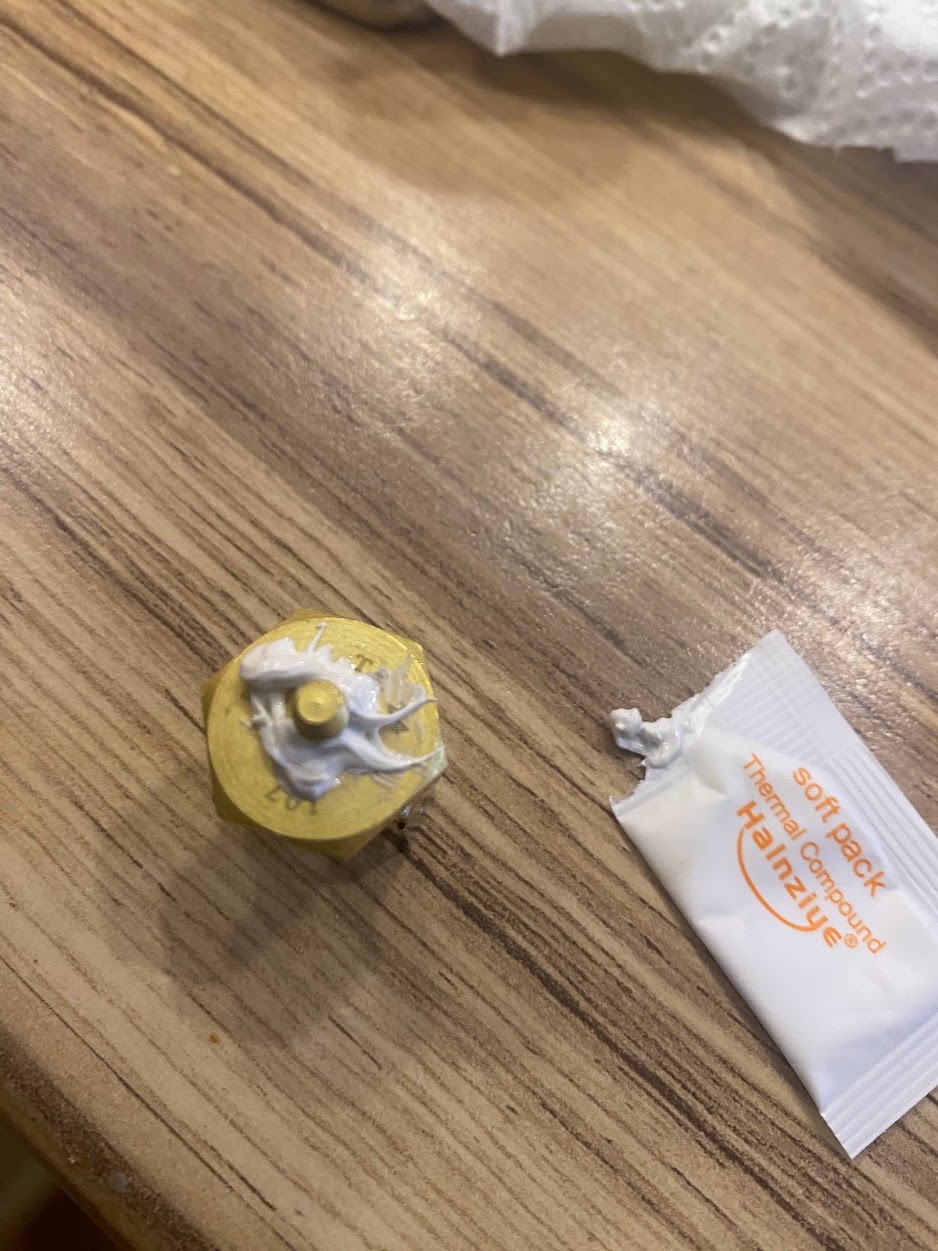
You’ll need an open end spanner or small adjustable wrench to undo the old thermostat. Pull off the two cable connectors and gently unscrew the old thermostat. Put a little thermal grease on the new one and screw it in by hand. It really only needs to be hand tight but you can give it a very gentle nip up with your spanner. Then simply reconnect your cables, it doesn’t matter which way as the thermostat is just a circuit breaker like a switch that opens at the calibrated temperature.
Then replace the cover and screws and you are done! It worked for me and I hope it does for you. By the way, the grinder in the heading picture is one of the few cheap grinders I have tried that does grind fine enough for true espresso, it’s the Krupps Expert Burr, great little machine.
It looks like my silver dream machine will have to wait a little longer!